If you’re new to the world of cryptocurrency, opening your first crypto wallet might seem intimidating. Don’t worry; this guide will walk you through the process step by step. We’ll cover everything from creating your wallet using the Coinbase browser extension to securing your wallet with a recovery phrase. By the end of this article, you’ll have your own crypto wallet and even a free Web3 username!
1. Creating a New Wallet Using the Coinbase Browser Extension
The first step to managing cryptocurrencies is to create a wallet. Coinbase makes it easy with its browser extension.
Step 1: Install the Coinbase Wallet Extension
- Open your web browser (like Chrome or Firefox).
- Go to the Coinbase Wallet Extension page in the Chrome Web Store or Firefox Add-ons.
- Click “Add to Chrome” or “Add to Firefox” to install the extension.
- After installation, click the Coinbase Wallet icon in the top-right corner of your browser to open it.
Step 2: Create Your New Wallet
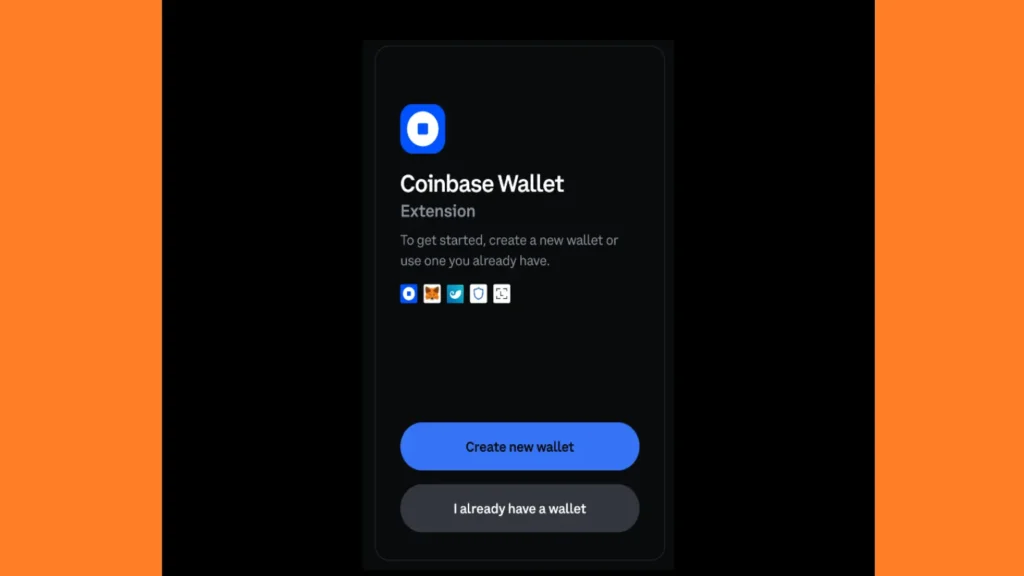
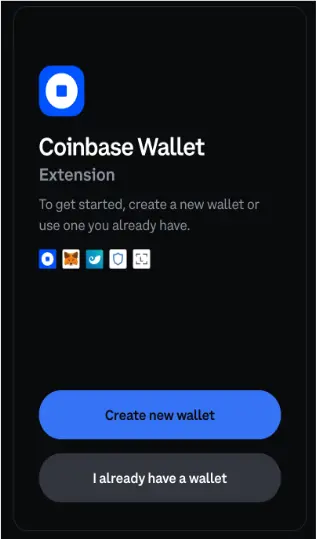
- When the extension opens, click on “Create New Wallet.”
- Choose a username for your wallet. This is how other people will find you on the Web3 network. Your username can be anything, but it should be something easy to remember.
- Create a strong password. Make sure it’s something secure, with a mix of letters, numbers, and special characters. Write this down somewhere safe.
- Confirm your password by typing it again.
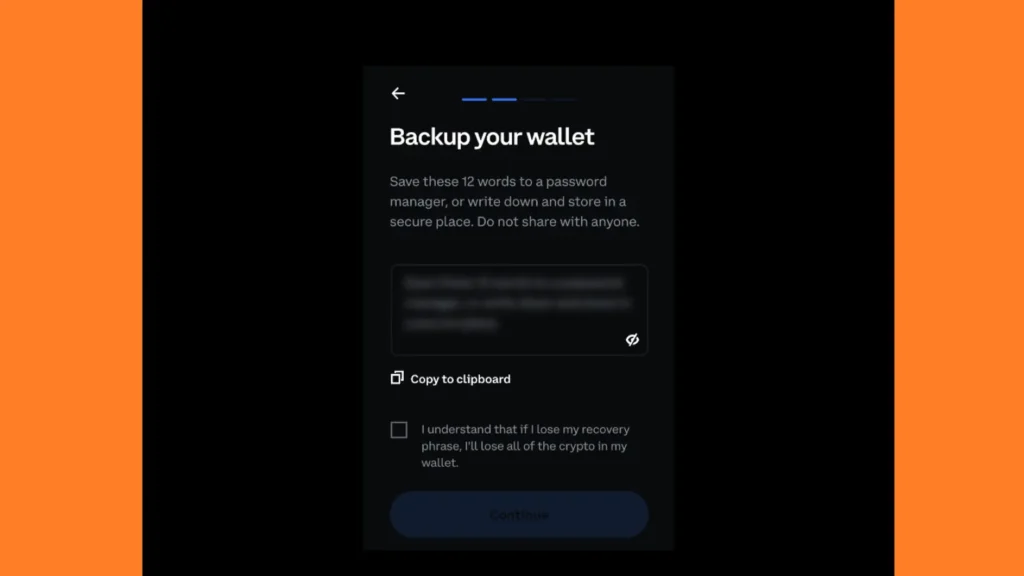
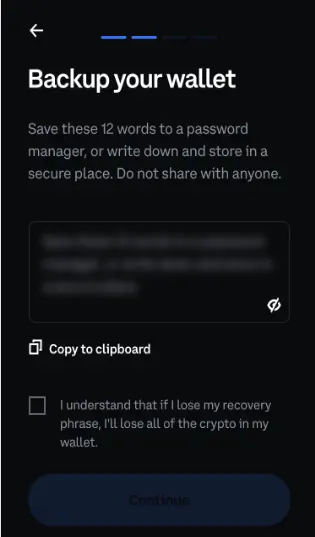
Step 3: Secure Your Wallet with a Recovery Phrase
Now, your wallet will generate a recovery phrase. This is the most important part of setting up your wallet.
2. Understanding the Basics of a Recovery Phrase
Your recovery phrase is a sequence of 12 or 24 words that act as a backup for your wallet. If you ever lose access to your wallet, you can use this phrase to recover it.
What You Need to Do:
- Write down the recovery phrase on a piece of paper. Do not save it on your computer or phone where it can be hacked.
- Store this paper in a very safe place. If someone gets access to your recovery phrase, they can steal all the crypto in your wallet.
- Never share your recovery phrase with anyone. Coinbase will never ask you for it.
Why is it Important?
If you forget your password or lose your device, your recovery phrase is the only way to regain access to your wallet. Without it, your funds are gone forever.
3. How to Claim Your Free Web3 Username
Coinbase offers a free Web3 username, which is a unique name that you can use in the crypto world.
How to Claim Your Username:
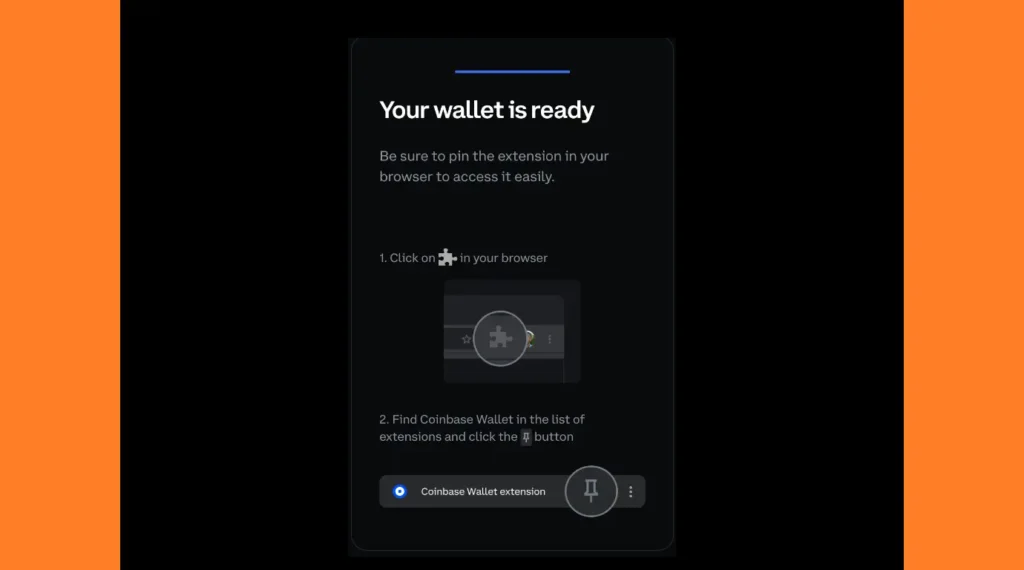
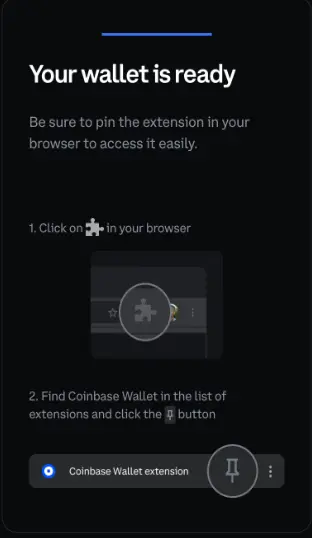
- After setting up your wallet, you will see an option to claim your free Web3 username.
- Choose a name that you like. This will be your identity on the Web3 network.
- Confirm your choice. Now, you have a unique Web3 username that others can use to send you crypto or interact with you on decentralized apps.
4. How to Add Crypto to Your Wallet
Now that your wallet is set up, let’s add some cryptocurrency to it.
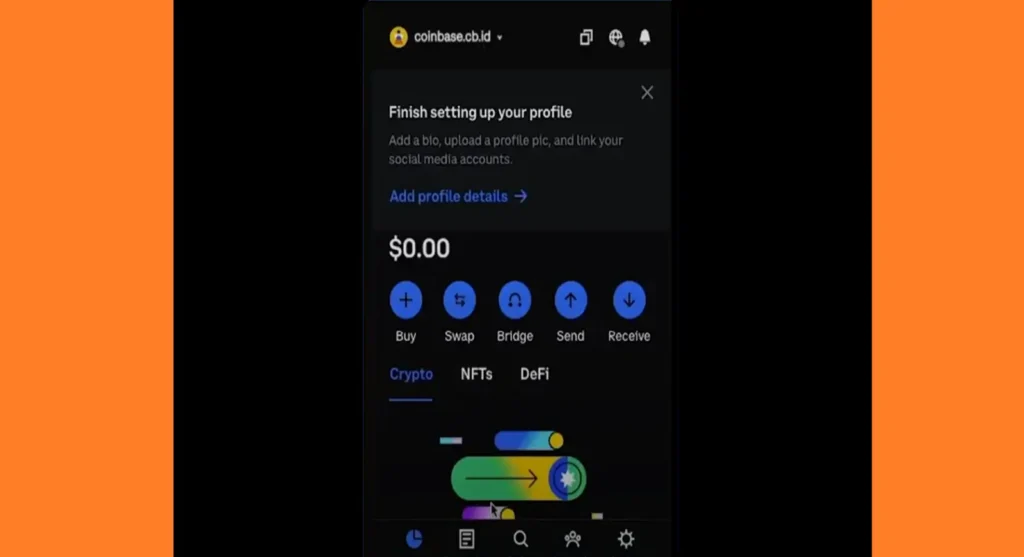

Step 1: Buy Crypto on Coinbase
- If you don’t already have a Coinbase account, create one at coinbase.com.
- Log in to Coinbase and buy some cryptocurrency, like Bitcoin or Ethereum.
- Once you’ve purchased the crypto, go to your Coinbase wallet.
Step 2: Transfer Crypto to Your Wallet
- In your Coinbase wallet, click on “Receive” to find your wallet address.
- Copy this address and go back to your Coinbase account.
- Send your crypto from Coinbase to your wallet by pasting your wallet address into the “Send” field and confirming the transaction.
Step 3: Check Your Wallet
- After a few minutes, check your wallet to see if the crypto has arrived.
- Once it appears in your wallet, you’re all set!
Final Tips
- Keep your password and recovery phrase safe. These are the keys to your crypto assets.
- Use your Web3 username to easily interact with others in the crypto world.
- Explore decentralized apps with your new wallet to experience the full power of Web3.
Congratulations! You’ve successfully set up your first crypto wallet on Coinbase. You’re now ready to start connecting your wallet and start exploring the exciting world of cryptocurrency gaming and trading! 🎉


